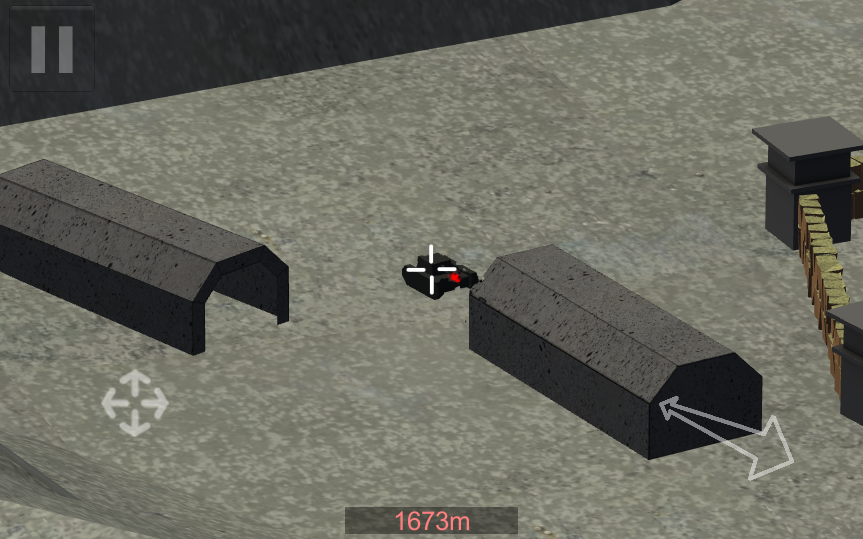
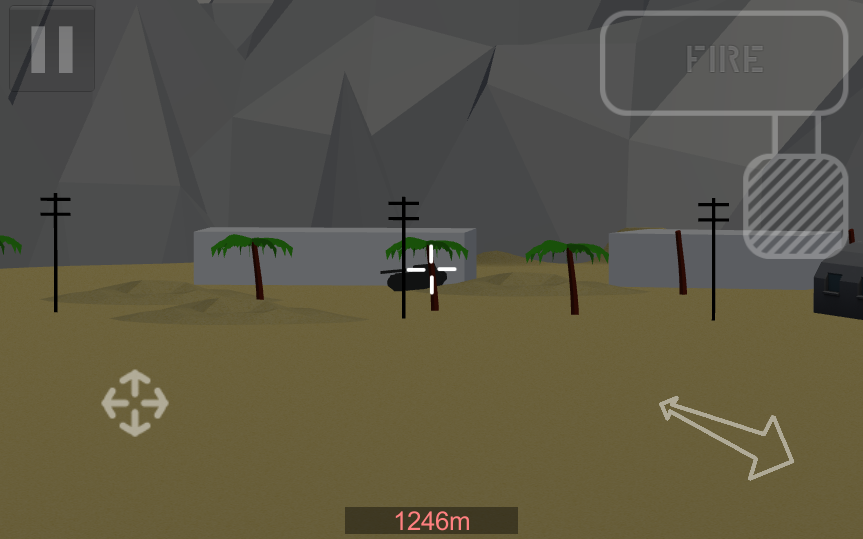
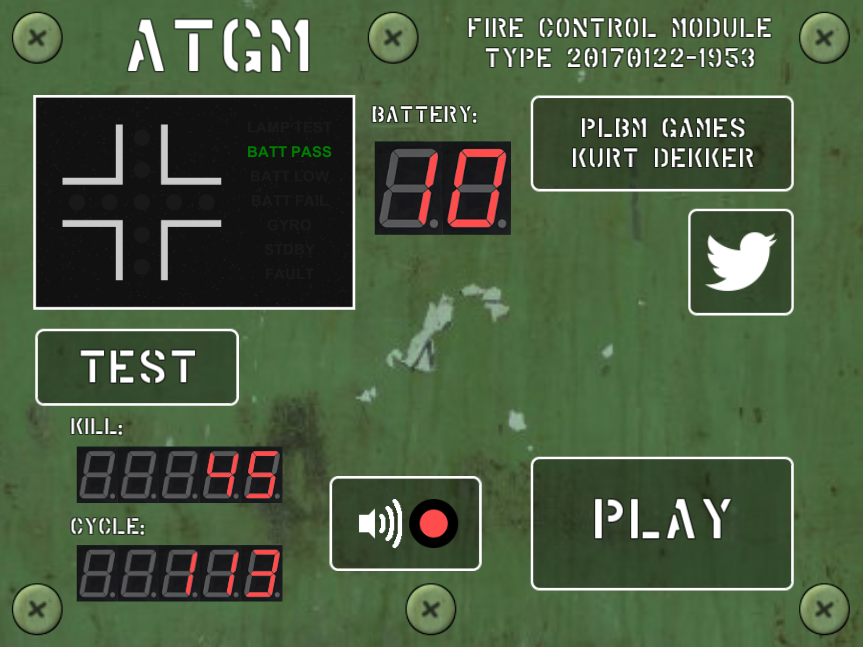
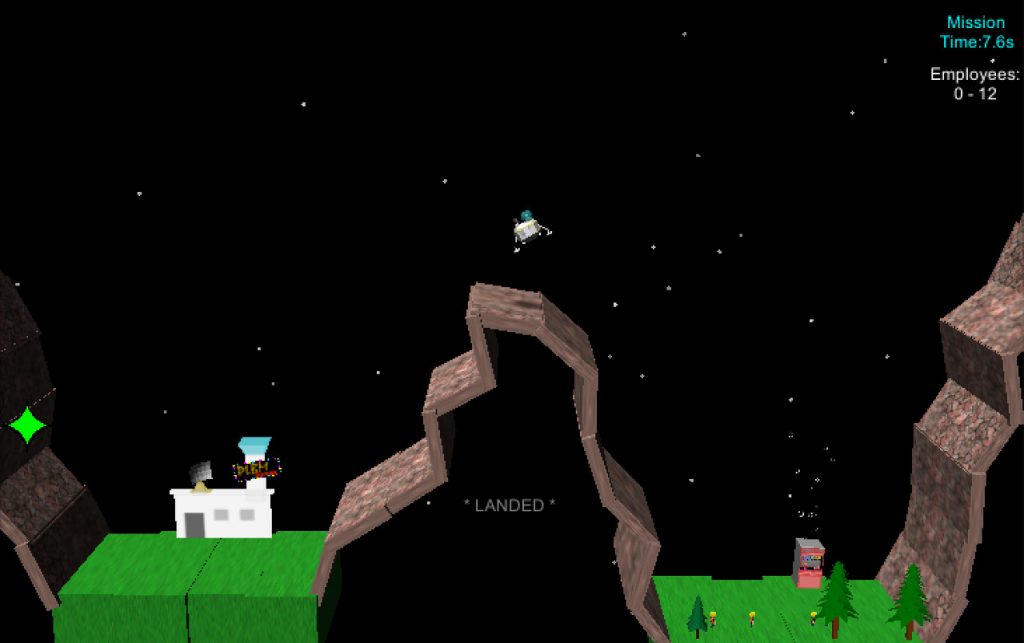
I recently revived my collection of old PalmOS games and ported them to run under Unity3D on multiple platforms. You can check out my KurtMaster2D app for Apple/iOS and/or Android.
This is a brief overview of the process of porting the PalmOS native code for running under Unity3D’s managed code environment.
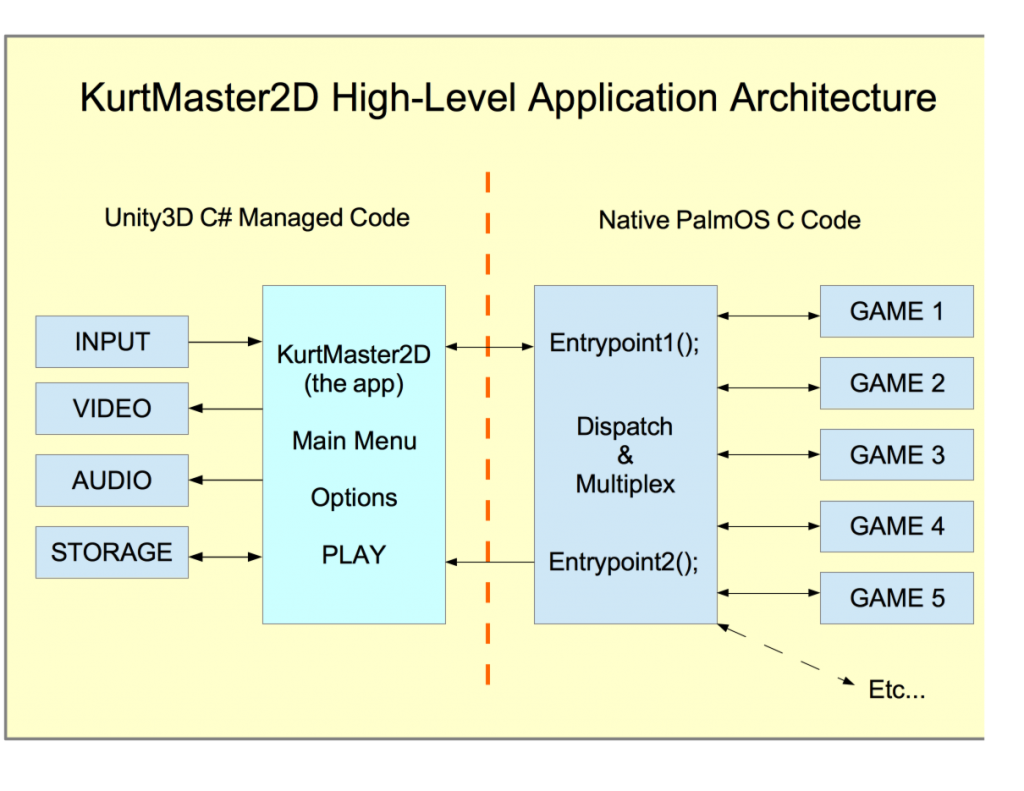
My original PalmOS games all shared a common software-rendering 2D graphics library that I wrote. This library started life in January 2000 as 1-bit (black and white) graphics and then was later extended to 4-bit grayscale and finally 8-bit color graphics, when I was porting my games to the color-capable PalmOS handhelds.
This commonality made the conversion of all the games into a single library far easier.
All games had been maintained and still compiled for PalmOS when I started work on KurtMaster2D.
Here were a few of the design goals and guidelines I had in mind when porting my PalmOS games into a modern Unity3D context.
Design Goals:
1. Use Unity3D do all the heavy-lifting platform-wise (input, graphic presentation, sound, timing, storage of data, etc.)
2. Use the native game code with as few changes as possible to the original game source base
3. Try to limit the number of managed-to-unmanaged call sites to simplify linking across different platforms
4. Keep as few dependencies and/or bindings between the Unity “wrapper” and the underlying native game library, in order to simplify adding more games, extending the wrapper, etc.
To this end, Goal #1 was easy: Unity3D’s GUI and platform abstraction are trivial to work with, and before long I had created a Unity shell that:
– accepted discrete on/off key inputs and mouse input and converted it into a PalmOS “input event”
– presented the contents of a Unity3D Texture2D at any arbitrary resolution. The games varied in their internal resolution from 160×160 up to 512×384, and not all of them could easily change to a common resolution. Therefore I made the Unity shell able to present any shape surface.
Towards achieving Goal #2, I made a dispatching/multiplexing layer that lives “above” all of the individual games and knows about all of the games in the library. Presently there are several dozen games in the library, in various states of completion.
This dispatch/multiplex layer is the main agent that Unity interacts with. It is stateful and responds to commands that come through the single “Entrypoint1()” function that Unity calls.
Every call through Entrypoint1() accepts two integers and returns a string, so the C interface is:
char *Entrypoint1( int opcode, int argument);
The equivalent C# interop layer interface (for iOS) is:
[DllImport ("__Internal")]

private static extern System.IntPtr Entrypoint1( int opcode, int argument);
After each response, the string returned contains either a simple “ok,” or else the information that was requested by the opcode, supplied as a semicolon-separated string of arbitrary length.
In Unity I slice up this returned string in order to receive communications back from the underlying game.
Some of the calls that control the dispatch/multiplex layer include:
(setup and library query opcode group)
– GETVERSION (report version and build date of underlying library / DLL)
– GETMAXGAMES (how many games do you have?)
– SETGAMENO (select a particular game – now all commands refer to this game)
– GETAPPNAME (what is the name and other meta data of the current game?)
– GETRESOLUTIONS (what resolution(s) does this game need and/or support?)
– GETSOUNDLIST (are there any custom sounds that this game needs to preload?)
At application startup, Unity iterates against the library to discover the names, resolutions and any other relevant app metadata.
Unity uses this data to present the main menu and list of available games, as well as to know how each game must be presented and interacted with, what kind of input buttons it needs, etc.
Once the user has selected a particular game and presses PLAY, a different subset of commands are issued to the dispatch/multiplex system to startup the game.
(startup game opcode group)
– SETRESOLUTION (tell the PalmOS library layer to report this resolution when the game launches)
– WRITEDATA (send the stored persistent app data down from Unity’s PlayerPrefs store)
– GAIN (this is mapped directly to the standard PalmOS gain focus message)
Now that the game has been selected and told that it has focus, Unity begins to “run” the game by using these operational opcodes:
(operational opcode group)
– UNICODE (send a keystroke that was typed, an actual ASCII letter)
– HARDKEYS (the current status bits of up/down/left/right/fire1/fire2, the PalmOS hard keys)
– TOUCHINFO (the current touches on the application screen)
– ONEFRAME (this is the main entrypoint for moving the game ahead by one timer tick)
After the above opcodes have been sent to the native game code, the game will have prepared a single frame of output and made a call to the PalmOS “DrawBitmap” function to present it, which wipes out the previous frame of graphics.
Unity finally calls a second optimized entrypoint for retrieving the above graphics buffer. Here is the C interface:
void Entrypoint2( void *pixels32, int span, int flags);
The equivalent C# interop layer interface (for iOS) is:
[DllImport ("__Internal")]

private static extern void Entrypoint2( System.IntPtr pixels32, int span, int flags);
Unity C# prepares a worst-case 512×512-pixel byte[] array uses
GCHandle.Alloc(pixels, GCHandleType.Pinned);
to pin the memory in place for the native code to fill with data. This System.IntPtr is passed into Entrypoint2(), which transfers the last frame graphics.
Finally Unity marshals the pixels into a Texture2D and then presents it to the user, waits an appropriate amount of time (usually 1/20th of a second) and repeats the main loop.
When the user is done playing, some of the shutdown opcodes used are:
(shutdown opcode group)
– LOSE (tell the app to lose focus and save its data)
– GETDATA (retrieve modified persistent app data for storage by Unity)
And that is the entire process in a nutshell, a high-level overview of how I brought my PalmOS games back to life under Unity3D in my KurtMaster2D games.
Going forward I will be bringing more of the games online (some still have bugs) and making regular updates to the appstores.
The games also run under Win32 as well as MacOSX, so I am going to make desktop PC binaries soon as well, once I have a good desktop interface put together in Unity3D.
